Essential Steps for Tiling a Bathroom Floor
Tiling a bathroom floor is a process that requires careful attention to several stages, from surface preparation to the final finishing touches. While the result can be a durable and visually appealing surface, the success of the project depends largely on the methodology followed at each step. A well-prepared subfloor, a precise layout, accurate cutting, and proper grouting all contribute to the longevity and appearance of the finished floor. This article outlines the key steps involved in installing ceramic tiles on a bathroom floor, focusing on the techniques and considerations that help ensure a consistent outcome.
The sequence of tasks typically begins with an assessment of the existing subfloor. Bathrooms often have unique requirements due to moisture exposure and the weight of fixtures. Understanding the condition of the subfloor allows for necessary adjustments before any adhesive is applied. Once the subfloor is prepared, the layout phase determines how tiles will be positioned to create a balanced pattern. Cutting tiles to fit around obstacles such as toilet flanges, door frames, and corners is another critical aspect. Finally, grouting seals the gaps between tiles and provides a finished look. Each of these phases has its own set of best practices that are worth reviewing in detail.
Preparing the Subfloor
Before any tile can be placed, the subfloor must be clean, level, and structurally sound. Any debris, dust, or old adhesive residue should be removed completely. A thorough cleaning with a vacuum and a damp mop is often sufficient, but for stubborn residues, a scraper or chemical cleaner may be needed. The surface should then be inspected for flatness. A long straightedge placed across the floor can reveal dips or high spots. Small irregularities can be corrected with a self-leveling underlayment, while larger issues may require plywood patching or the removal of existing material.
Moisture considerations are particularly important in a bathroom environment. If the subfloor is plywood, a water-resistant primer or a membrane may be applied to reduce the risk of moisture damage. For concrete subfloors, a moisture test can help determine whether a vapor barrier is necessary. In some cases, installing a cement backer board over the subfloor provides a stable, water-resistant base. The backer board should be secured with appropriate screws and joints taped with fiberglass mesh and thin-set mortar. This creates a uniform surface that accommodates tile adhesive and helps prevent cracking over time. Allowing any patching compounds or primer to cure fully according to the manufacturer’s instructions is essential before moving to the next step.
Measuring and Planning the Layout
A well-planned layout reduces the amount of cutting required and helps achieve a balanced appearance. The first step is to measure the length and width of the room. Finding the center point of the floor by measuring from the midpoint of each wall provides a reference for alignment. A chalk line can be snapped along these center axes to create a grid. Dry-laying a row of tiles along one axis allows the installer to see how tiles align with walls and fixtures. Adjustments can be made by shifting the starting point slightly to avoid narrow cut tiles at the edges or near doorways.
In bathrooms, the most prominent visual lines are often the longest wall or the orientation of the shower or bathtub. Aligning tiles parallel to these features can create a more cohesive look. Once the layout is finalized, the positions of the tile edges are marked. It is also helpful to plan the order of installation. Typically, tiles are placed starting from the center outward, working in small sections to ensure the adhesive does not dry before tiles are set. For large-format tiles, a stagger or offset pattern may be considered, though such patterns require careful planning to maintain consistent spacing.
Applying Adhesive and Setting Tiles
After the layout is determined, the adhesive, usually a thin-set mortar, is mixed according to the manufacturer’s instructions. The consistency should be smooth and not too stiff. Using a trowel with the recommended notch size, the adhesive is spread over a small area—typically a few square feet at a time. The notches create ridges that allow the tile to bond effectively. Holding the trowel at a consistent angle, usually 45 degrees, ensures uniform coverage. It is important not to spread more adhesive than can be covered before a skin forms on the surface, as this can weaken the bond.
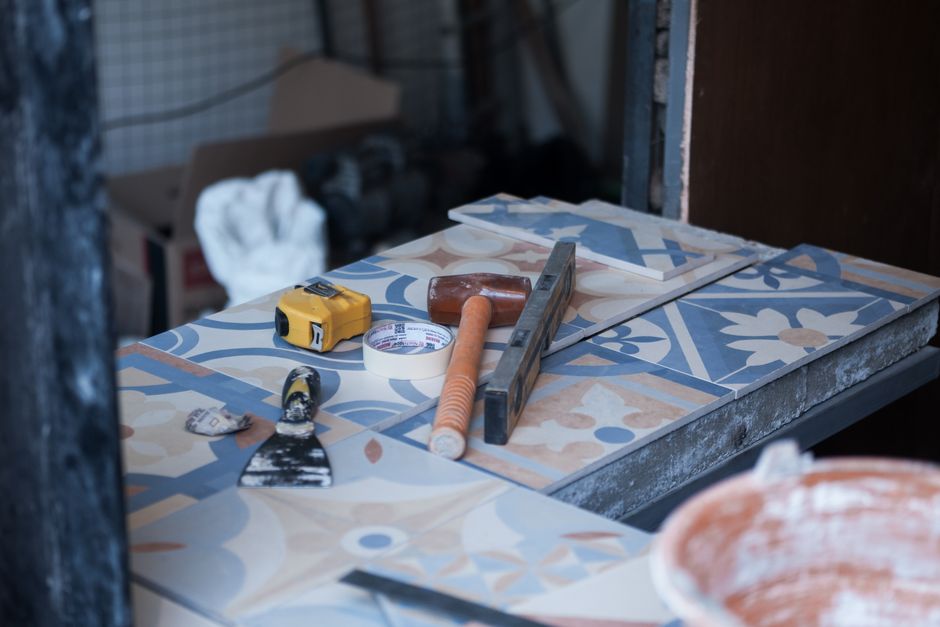
Tiles are pressed firmly into the adhesive with a slight twisting motion to collapse the ridges and achieve full contact. Spacers are inserted between tiles to maintain even gaps for grouting. For bathroom floors, a gap of 1/8-inch to 3/16-inch is common, though larger tiles may require wider joints. Care should be taken to keep the spacers aligned. A level or straightedge can be used periodically to check that the tile surface remains flat. Any high spots can be gently tapped down with a rubber mallet, and low spots may need additional adhesive. After setting a row, excess adhesive that oozes into the joints should be cleaned out before it hardens, as this can interfere with grouting later.
When approaching walls or obstacles, tiles often need to be cut. Full tiles are set first, and then the remaining spaces are measured and marked for cutting. It is common to leave a small gap, about 1/4-inch, between the tile and the wall to allow for expansion; this gap will be covered by baseboard or trim later. For areas around toilet flanges, the tile can be cut to fit around the pipe using a hole saw or by carefully marking and cutting with a tile nipper. Precision in these cuts improves the overall appearance.
Cutting Ceramic Tiles
Cutting ceramic tiles requires the right tools and a careful approach. A manual snap cutter is often used for straight cuts on standard ceramic tiles. This tool scores the glaze and snaps the tile along the line. For curved cuts or notches, a tile nipper can be used to nibble away small pieces, or a wet saw with a diamond blade provides a more precise and cleaner cut. When using a wet saw, the tile is fed slowly through the blade while water cools the blade and reduces dust. Measuring twice before cutting helps minimize waste.
For bathroom floors, common cuts include L-shaped pieces around door jambs and holes for plumbing pipes. One effective method is to mark the cut lines directly on the tile surface using a pencil or marker. For pipes, the cut can be made by drilling a hole with a diamond hole saw or by making a series of straight cuts to form a notch. After cutting, the edges may be slightly rough; a rubbing stone or sandpaper can smooth them. It is advisable to test-fit each cut tile before applying adhesive to ensure accuracy. In areas where multiple cuts are needed, laying out the tiles in order and labeling them can prevent confusion.
Grouting and Sealing
Once all tiles are set and the adhesive has cured—typically 24 to 48 hours depending on the product—grouting can begin. Grout is available in sanded and unsanded varieties; for joints wider than 1/8-inch, sanded grout is often used because it is less prone to cracking. The grout is mixed to a consistency similar to peanut butter and then forced into the joints using a rubber float held at a 45-degree angle. Holding the float diagonally to the joints helps pack the grout fully.
Excess grout is removed from the tile surface by wiping with a damp sponge in a circular motion. It is important not to press too hard, as this can pull grout out of the joints. Repeated light wipes with clean water, changing the water frequently, help achieve a clean surface. After the grout has set for about 15 to 30 minutes, a haze may appear. This haze is removed by buffing the tiles with a dry, lint-free cloth. Once the grout has fully cured, which may take several days, a grout sealer can be applied. Sealing the grout helps resist moisture and staining, which is especially beneficial in a bathroom environment. The sealer is brushed or sprayed onto the grout lines and wiped off the tile surface promptly. Following the product’s drying times and reapplication recommendations can support long-term durability.